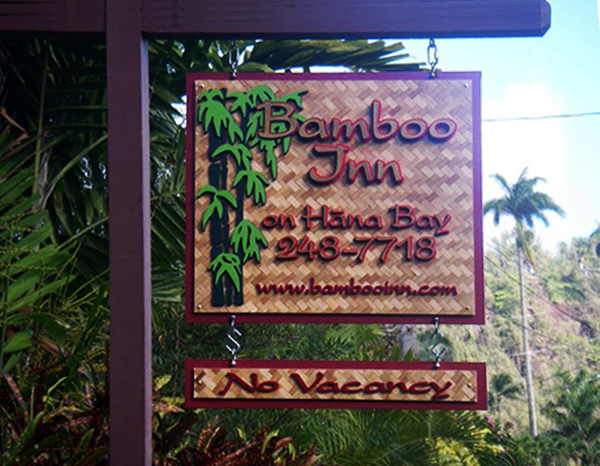
New Bamboo Inn Hanging Sign
 The original sign was sandblasted out of wood and decades old when the request came in to design and develop a new sign based on the old one’s layout. The logo and fonts themselves were recreated and ideas were sorted on the construction of the sign, whether it be carved out of HDU on our CNC Router or maybe assembled in pieces, etc. Finally it was decided to make the sign out of cut acrylic and a bamboo mat, along with 3/4″ MDO board.
With the router files programmed to cut the lettering in three different levels, the dimensionality of the sign was created.
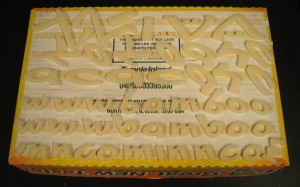 First, we bonded the letters together, which were cut in three separate heights. We used a specialty agent specifically for bonding acrylic to other acrylic which was very strong once it cured. After, the letters were primed and painted with spray paint designed to stick to plastics. Before the letters were attached to anything, a vinyl mask was cut to stick on the surface that will be readied for the letters to give the writing arrangement and placing.
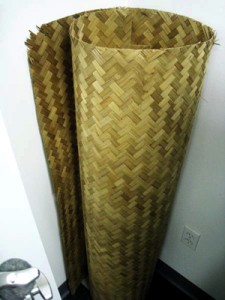
Meanwhile in assembly, we bonded the bamboo mat, sealed at this point, with the acrylic backing and let it dry. Once the adhesive was dry, we mounted the bamboo/acrylic sheet to a 3/4″ MDO board, painted to match client-specified color, using the same acrylic-to-non-acrylic adhesive used previously for attaching the bamboo to the acrylic. After that bond set, we sealed the bamboo a second time and set on the vinyl mask for the letters once the sealant cured.
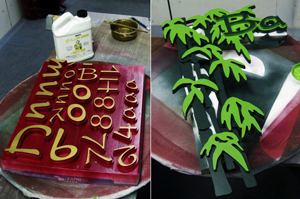 The letters were painted using a plastic-specific spray paint for the lower portions and the sides but the tops of the letters were painted with a metallic gold which was brushed on. The bamboo graphic was brush and spray painted two shades of green. Once the painted acrylic pieces dried they were bonded to the bamboo.
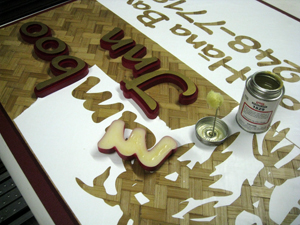 After the acrylics lettering and graphics were bonded to the bamboo mat, the vinyl masking was removed before the adhesive fully set.
To assure the bamboo matting was secure on the acrylic, we added a handful of small brass screws to the corners of each side, which also added an extra visual effect to the sign.
For the last step, for the client to install the sign, we drilled holes in the top of both sections of sign and attached sign hooks and S-hooks, which work more than well enough for a sign of approximately forty pounds.

 Posted on October 21, 2010
 by islandsign
  0
0 